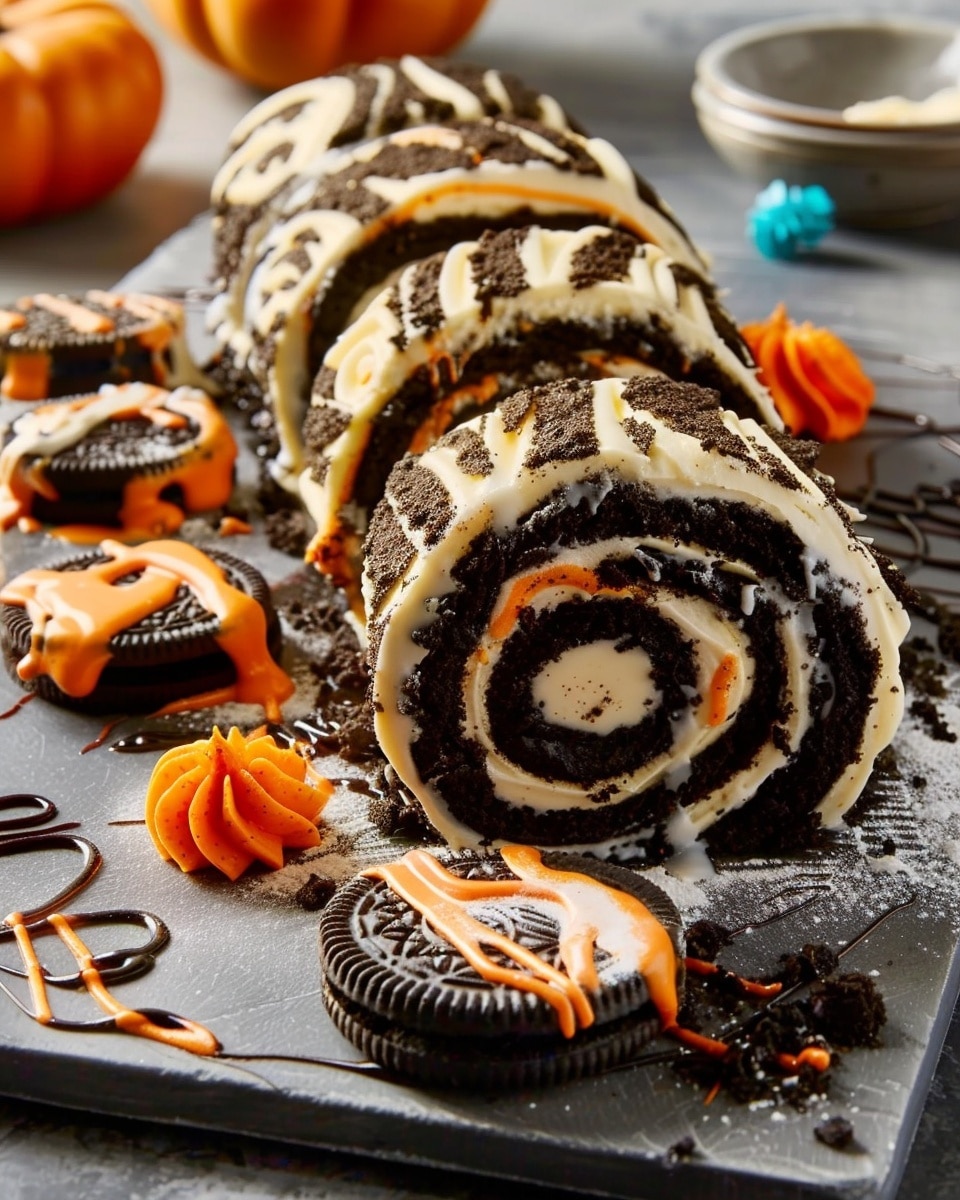
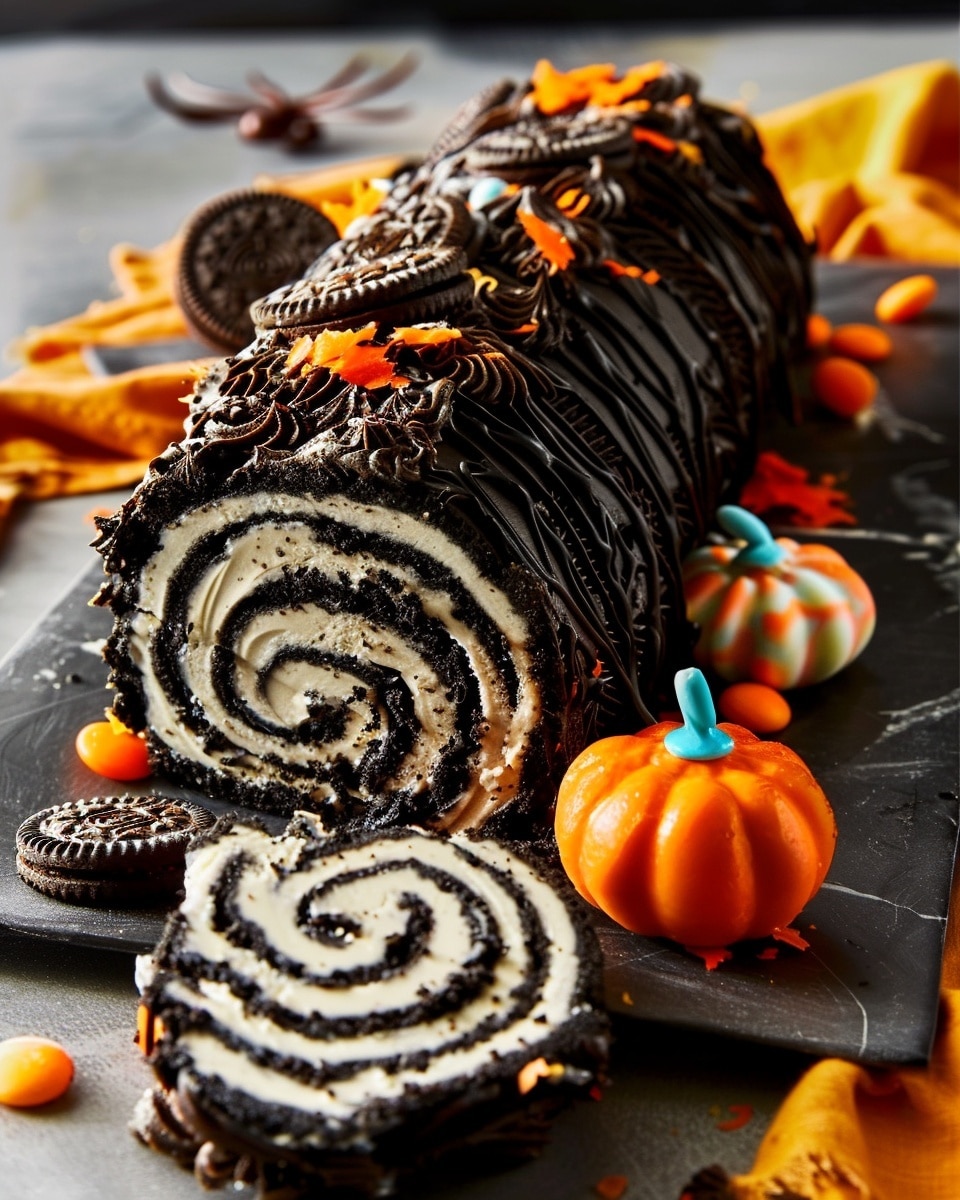
The Oreo Roll is a no-bake dessert dream that’s rich, creamy, and guaranteed to impress with minimal effort. I love how it turns classic Oreos into a fun, sliceable treat with a soft chocolate cookie base and a sweet, fluffy filling. It’s easy to make ahead and always a crowd-pleaser.
Why You’ll Love This Recipe
I love this recipe because it looks impressive but takes very little time to put together. It’s rich and chocolatey without being heavy, and the creamy filling makes every bite feel like a dessert version of a Swiss roll. Whether I’m serving it at a party or keeping it in the fridge for late-night cravings, it always disappears quickly.
Ingredients
(Here’s a tip: Check out the full list of ingredients and measurements in the recipe card below.)
-
Oreo cookies
-
Milk
-
Cream cheese, softened
-
Powdered sugar
-
Whipped cream or whipped topping
-
Optional: extra crushed Oreos or chocolate shavings for garnish
Directions
-
I crush the Oreos into fine crumbs using a food processor or rolling pin.
-
I pour in just enough milk to form a soft, moldable dough—about 3–4 tablespoons.
-
I press the dough out into a rectangle between two sheets of parchment paper, then chill it briefly to firm it up.
-
In a separate bowl, I beat the cream cheese with powdered sugar until smooth, then fold in the whipped cream to create a light filling.
-
I spread the filling evenly over the Oreo base, leaving a small border around the edges.
-
Using the parchment to help, I carefully roll the Oreo sheet into a log, keeping it tight but gentle to avoid cracks.
-
I wrap it in plastic or parchment and refrigerate for at least 2 hours before slicing.
Servings and timing
This recipe makes about 8–10 slices. It takes 15 minutes to prepare and 2 hours to chill before slicing.
Variations
Sometimes I add crushed strawberries or mini chocolate chips to the filling for extra texture. I’ve also made a peanut butter version by mixing peanut butter with the cream cheese before folding in the whipped cream. If I want to go fancier, I drizzle melted chocolate over the top before serving.
Storage/Reheating
I store the Oreo roll in the fridge, tightly wrapped, for up to 3 days. It’s best served cold. I don’t recommend freezing it, as the texture of the cream filling can change once thawed. No reheating is needed.
FAQs
Can I use off-brand chocolate sandwich cookies?
Yes, I’ve made this with store-brand cookies and it still turns out great. The flavor and texture are very similar.
Do I have to use cream cheese?
Cream cheese gives a nice tang and structure, but I’ve also made it with mascarpone or whipped cream cheese spread.
Can I make this without a food processor?
Yes, I crush the cookies in a zip-top bag with a rolling pin until very fine. It just takes a bit more time.
Will the roll crack when I roll it?
If I chill the base too long or make it too dry, it might crack. I add just enough milk to keep the dough soft and pliable.
Can I make it the night before?
Absolutely. I often make it the day before serving—it slices better after chilling overnight.
Conclusion
Oreo Roll is one of my favorite no-bake desserts when I want something quick, chocolatey, and fun. I love how it transforms a familiar cookie into something completely new. It’s simple, versatile, and always hits the sweet spot.
PrintOreo Roll
Oreo Roll is a no-bake dessert made with crushed Oreo cookies and a creamy filling, rolled into a sliceable log. It’s rich, fun, and perfect for parties or quick treats.
- Prep Time: 15 minutes
- Cook Time: 0 minutes
- Total Time: 2 hours 15 minutes (including chilling)
- Yield: 8–10 slices
- Category: Dessert
- Method: No-bake
- Cuisine: American
- Diet: Vegetarian
Ingredients
- 24 Oreo cookies
- 3–4 tbsp milk
- 4 oz cream cheese, softened
- 1/2 cup powdered sugar
- 1 cup whipped cream or whipped topping
- Optional: extra crushed Oreos or chocolate shavings for garnish
Instructions
- Crush Oreos into fine crumbs using a food processor or rolling pin.
- Add milk gradually and mix until a soft, moldable dough forms.
- Press dough into a rectangle between two sheets of parchment paper and chill for 10–15 minutes.
- Beat cream cheese and powdered sugar until smooth. Fold in whipped cream to create a fluffy filling.
- Spread filling over the chilled Oreo base, leaving a small border around the edges.
- Using the parchment, gently roll the sheet into a log. Wrap tightly in plastic or parchment.
- Refrigerate for at least 2 hours until firm.
- Slice and garnish with crushed Oreos or chocolate shavings if desired. Serve cold.
Notes
- Use just enough milk to keep the dough soft—too much will make it sticky.
- Add mini chocolate chips, strawberries, or peanut butter for variations.
- Store tightly wrapped in the fridge for up to 3 days.
- Best served cold; no reheating or freezing recommended.
- Can be made the day before for easier slicing and serving.
Nutrition
- Serving Size: 1 slice
- Calories: 210
- Sugar: 18g
- Sodium: 170mg
- Fat: 12g
- Saturated Fat: 5g
- Unsaturated Fat: 6g
- Trans Fat: 0g
- Carbohydrates: 24g
- Fiber: 1g
- Protein: 2g
- Cholesterol: 15mg


