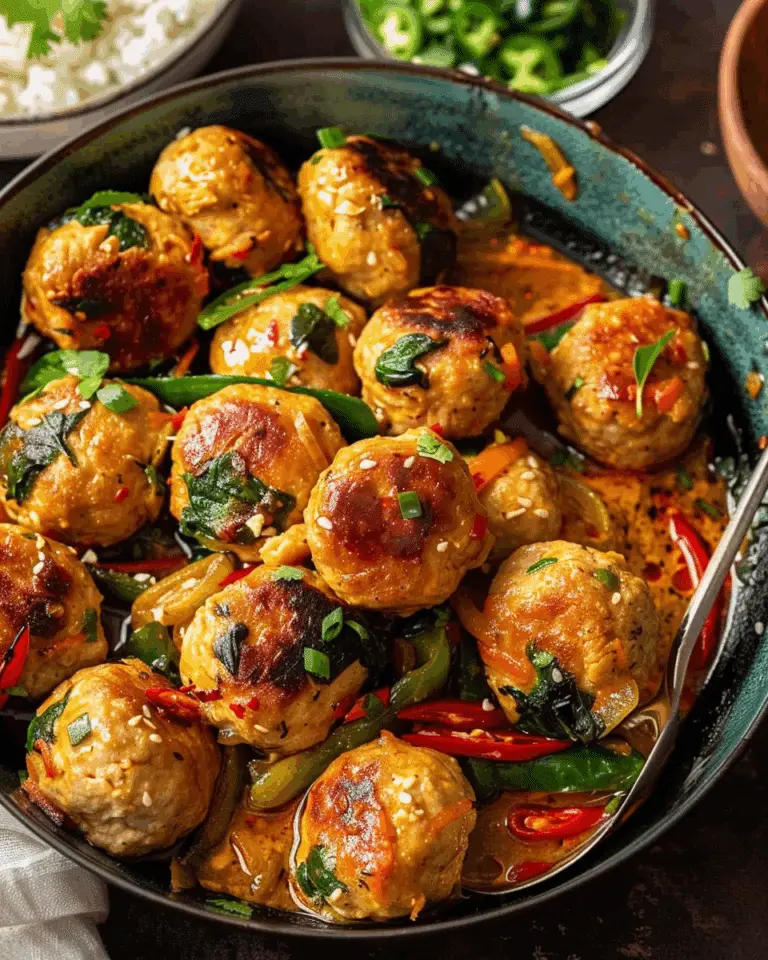
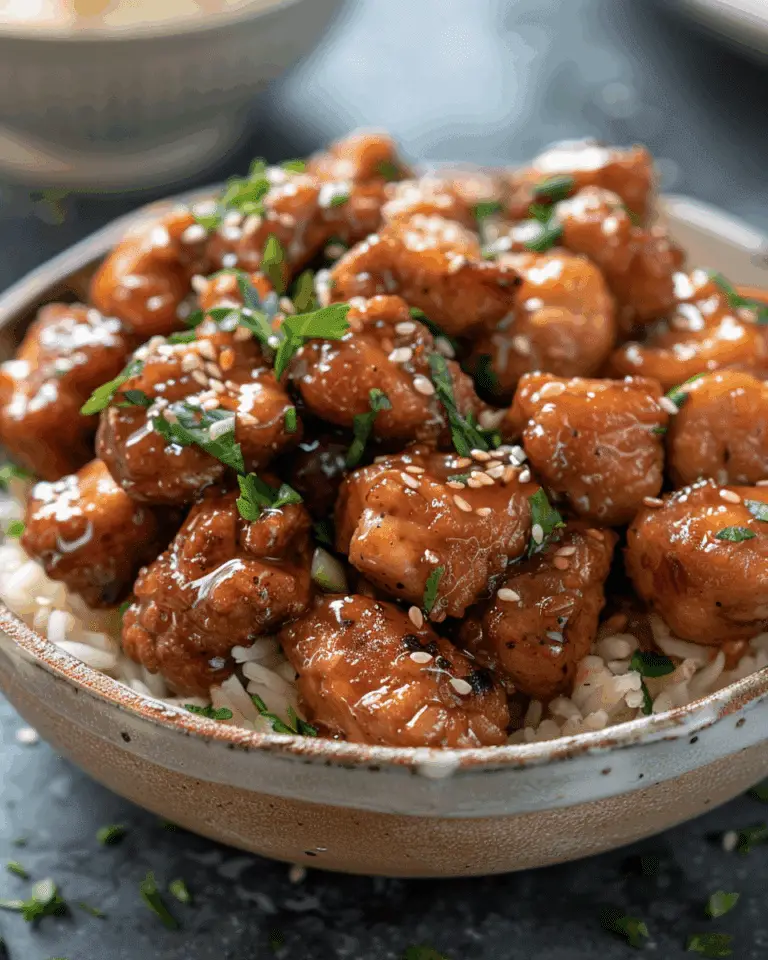
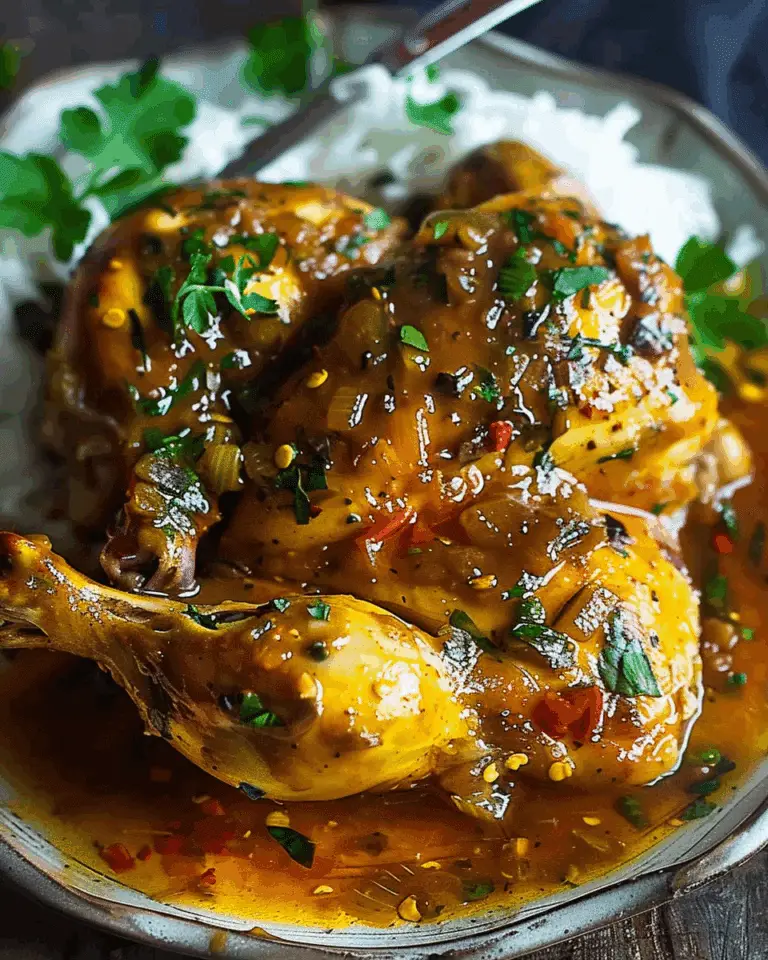
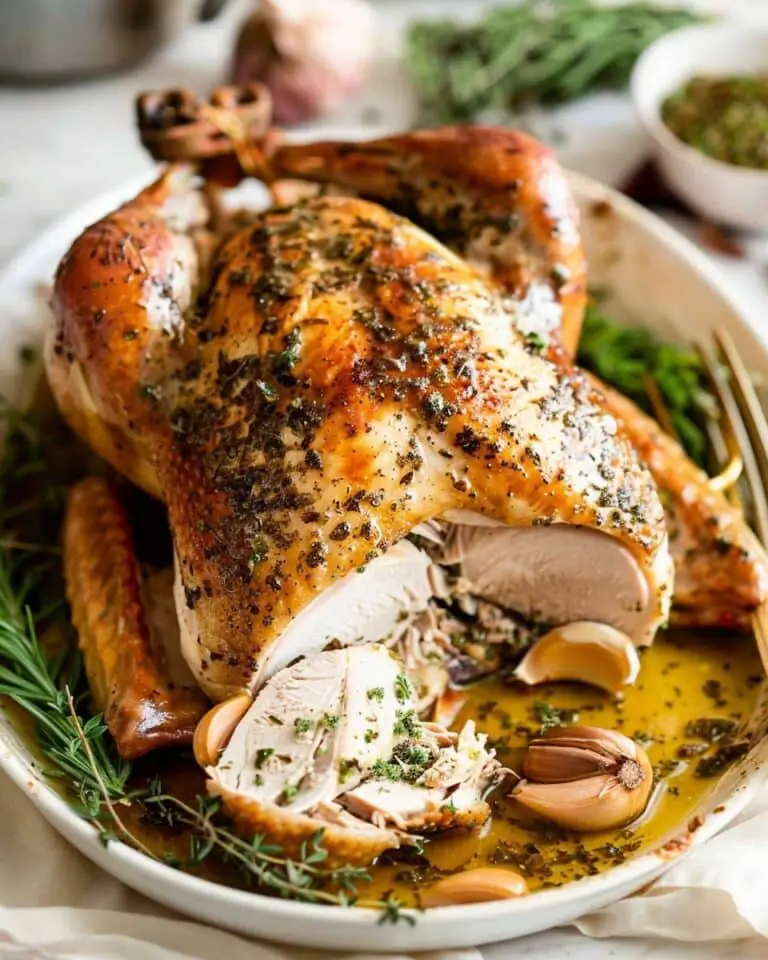
These chicken rissoles are my go-to when I want something easy, cheesy, and packed with hidden veggies. Inspired by the classic Aussie beef rissoles, this chicken version is lighter but still delivers a juicy, savory bite with golden crispy edges and irresistible melty cheese inside. Perfect as a main dish, lunchbox filler, or party finger food.
Why You’ll Love This Recipe
I love how versatile these chicken rissoles are. They’re quick to prepare, loaded with vegetables, and incredibly family-friendly. The cheesy pockets make every bite satisfying, and the crisp golden crust from pan-frying gives them the perfect texture. Whether I’m serving them with a fresh salad or just some ketchup for dipping, they’re always a hit.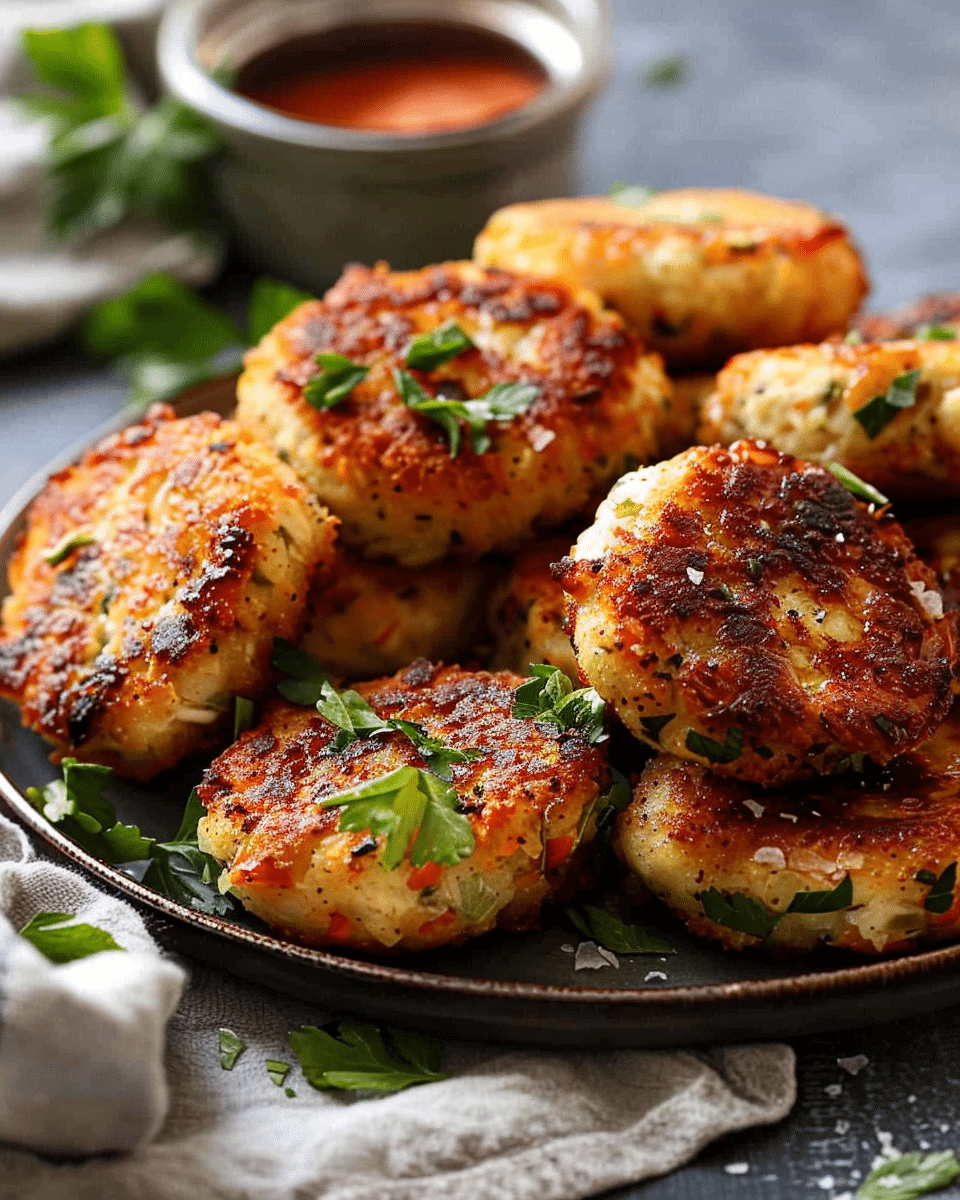
Ingredients
(Here’s a tip: Check out the full list of ingredients and measurements in the recipe card below.)
- 500g chicken mince (ground chicken), excess liquid drained
- 1 medium carrot, grated on a shallow angle
- 1 medium zucchini, grated on a shallow angle
- 1 egg
- 1 1/2 cups shredded Colby cheese (or cheddar, Monterey Jack, etc.)
- 3/4 cup panko breadcrumbs
- 1 tbsp finely chopped parsley (optional)
- 1 tsp kosher or cooking salt
- 1/2 tsp black pepper
For cooking and serving:
- 2 tbsp canola oil
- Ketchup, for dipping
Directions
- I start by preheating the oven to 100°C (210°F) to keep the cooked rissoles warm while I finish the batches. I place a rack over a tray for this purpose.
- In a large bowl, I combine the chicken mince, grated carrot and zucchini, egg, cheese, breadcrumbs, parsley, salt, and pepper. I use a wooden spoon to mix until just combined.
- To form the rissoles, I wet my hands (it helps stop the mixture from sticking), then scoop just under 1/4 cup of mixture and shape it into patties about 6 cm wide and 1.5 cm thick.
- I heat 1 tablespoon of oil in a non-stick pan over medium-high heat. I cook 5–6 rissoles at a time, frying them for 3–4 minutes on each side until golden and cooked through.
- As they’re ready, I transfer them to the tray in the oven to keep warm. I repeat with the remaining mixture, adding more oil as needed.
- I serve the rissoles straight away with a side of ketchup.
Servings and Timing
This recipe makes about 14 to 16 rissoles, which comfortably serves 4 to 5 people as a main meal.
Prep Time: 15 minutes
Cook Time: 20 minutes
Total Time: 35 minutes
Variations
- Spicy twist: I sometimes add a pinch of chili flakes or diced jalapeño for a spicy kick.
- Herb swap: I use fresh dill or basil instead of parsley when I want a different flavor.
- Veggie boost: Doubling the carrot or zucchini adds even more veggies without sacrificing taste.
- Cheese change-up: Provolone or gouda give a slightly different but delicious cheesy profile.
- Gluten-free: I’ve made these with gluten-free breadcrumbs and they worked really well.
Storage/Reheating
I store leftover rissoles in an airtight container in the fridge for up to 3 days.
To reheat, I prefer using a skillet over medium heat to bring back the crispy edges. A quick turn in the oven at 180°C (350°F) for about 10 minutes works well too.
They can be frozen, but I find they lose some of their juiciness when thawed, so I usually stick to refrigerating them if I can.
FAQs
How do I keep the rissoles from falling apart?
I make sure to drain any excess liquid from the chicken mince and vegetables. If the mixture still feels too wet, I add a small amount of extra panko breadcrumbs until it firms up enough to shape.
Can I bake the rissoles instead of frying?
Yes, I’ve baked them before at 220°C (430°F) for 15–18 minutes, flipping halfway through. They don’t get as golden, but they’re still tasty thanks to the cheese.
What cheese works best in these rissoles?
I usually go with Colby, cheddar, or Monterey Jack. I look for cheeses that melt well and add flavor without overpowering the rest of the ingredients.
Can I make these ahead of time?
Yes, I often prepare the mixture in advance and store it covered in the fridge for up to 24 hours. I shape and cook the rissoles just before serving for best texture.
What can I serve with chicken rissoles?
I like pairing them with mashed potatoes, a green salad, or steamed veggies. They also go great in wraps or sandwiches for a quick lunch.
Conclusion
These chicken rissoles are a staple in my kitchen because they tick all the boxes—easy, cheesy, veggie-packed, and incredibly satisfying. Whether I’m making a quick weeknight dinner or prepping ahead for lunches, they never disappoint. I always keep a stash of ingredients on hand to whip them up whenever the craving hits.
PrintChicken Rissoles
These cheesy chicken rissoles are a lighter twist on classic Aussie beef rissoles, loaded with hidden veggies and melty cheese. Perfect for weeknight dinners, lunchboxes, or party snacks.
- Prep Time: 15 minutes
- Cook Time: 20 minutes
- Total Time: 35 minutes
- Yield: 14-16 rissoles (serves 4–5)
- Category: Main Dish
- Method: Pan-Fried
- Cuisine: Australian
- Diet: Halal
Ingredients
- 500g chicken mince (ground chicken), excess liquid drained
- 1 medium carrot, grated
- 1 medium zucchini, grated
- 1 egg
- 1 1/2 cups shredded Colby cheese (or cheddar, Monterey Jack, etc.)
- 3/4 cup panko breadcrumbs
- 1 tbsp finely chopped parsley (optional)
- 1 tsp kosher or cooking salt
- 1/2 tsp black pepper
- 2 tbsp canola oil (for cooking)
- Ketchup (for serving)
Instructions
- Preheat the oven to 100°C (210°F) and place a rack over a tray to keep cooked rissoles warm.
- In a large bowl, combine chicken mince, grated carrot and zucchini, egg, cheese, breadcrumbs, parsley, salt, and pepper. Mix until just combined.
- Wet your hands, then scoop just under 1/4 cup of mixture and shape into patties about 6 cm wide and 1.5 cm thick.
- Heat 1 tablespoon of oil in a non-stick pan over medium-high heat. Cook 5–6 rissoles at a time for 3–4 minutes per side until golden and cooked through.
- Transfer cooked rissoles to the tray in the oven to keep warm. Repeat with the remaining mixture, adding more oil as needed.
- Serve hot with ketchup or your favorite dipping sauce.
Notes
- Add chili flakes or diced jalapeño for a spicy twist.
- Swap parsley with dill or basil for different herb flavors.
- Double the veggies for extra nutrition without compromising taste.
- Use gluten-free breadcrumbs for a gluten-free version.
- Best reheated in a skillet or oven to maintain crispiness.
Nutrition
- Serving Size: 3–4 rissoles
- Calories: 310
- Sugar: 2g
- Sodium: 480mg
- Fat: 22g
- Saturated Fat: 8g
- Unsaturated Fat: 12g
- Trans Fat: 0g
- Carbohydrates: 10g
- Fiber: 1g
- Protein: 21g
- Cholesterol: 85mg


